
How to draw a Rock. Rocks are an essential part of the realistic scenario. So if you are passionate about drawing beautiful natural landscapes, it is crucial to learn to draw a Rock. To make it much easier, we have created a step-by-step tutorial for drawing a Rock. This complete guide consists of 9 simple instructions in combination with simple illustrations. You can also adapt the Rock as well as its colors! So what are you waiting for?
Go ahead and take a piece of paper and a pencil and draw together! If you are looking for coloring pages, then you are at the right place because we share many types of adult coloring pages like Christmas coloring pages, Halloween coloring pages, dog coloring pages, cat coloring pages, dragon coloring pages, horse coloring pages, and flowers coloring sheets.
Drawing a Rock
Step 1:
Draw this flat-tip Rock by drawing the edge or side dish. Drawings five connected diagonal lines (this forms the top) and two curved and non-connected lines (this forms the lower part), as seen in the illustration.
Step 2:
This time you connect the lower part by adding the central section. They draw two diagonal lines associated with the lower part and two short vertical lines (one on each side), as shown in the illustration. You have finally outlined the Rock!
Step 3:
In this step, you will make the Rock realistic! In the illustration, draw the inner part of the flat upper part by adding three connected diagonal lines, e.g., B. The third diagonal line disappears.
Step 4:
You draw a shorter version of what you did in step 3: only two shorter diagonal lines. It will also have an effect that “disappears,” just like the one in Passing 3.
Step 5:
Here we make the flat tip more realistic. They will add more diagonal and curved lines in the upper part of the Rock, as shown in the illustration.
Step 6:
In this step, we will give your flat typing rock more realism. Add two short diagonal lines on the lower side to the left of the Rock.
Step 7:
Here you draw a long diagonal line. This diagonal and almost vertical line combines the part you designed for step 3 with the one you designed in step 2, as seen in the illustration.
Step 8:

In this step, add two relatively shorter lines next to the almost vertical line you designed in step 7.
Step 9:
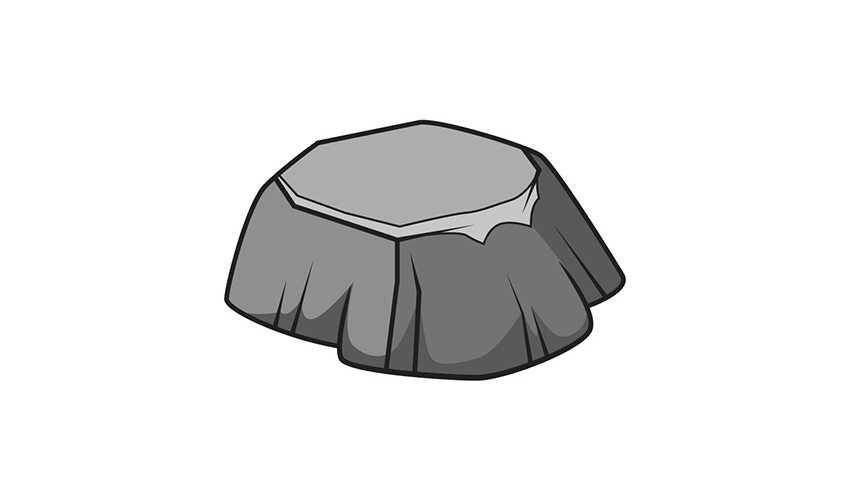
Here you can find what you did in step 6. But this time, you will add these brief lines double on the right side of the Rock. We have successfully drawn a realistic Rock! It is finally the moment of the most exciting part that avoids the Rock’s colors and coloring! To get your Rock on stage, it’s time to add colors! We used different colors of gray in the illustration, but you can add other colors.
Take your Rock drawing to the next level.
Prepare yourself to escape with these suggestions to make your rock sketch even more surprising! This drawing of a rock may seem easy, but there are also a few more details for this simplest drawing. The Rock has a top court with some consistent lines on the sides. These details give the skirt a more realistic aspect but can also be more complicated to draw. If you find these details difficult to draw, you can simplify or completely remove these additional details. If you want to do this, try to concentrate on the parts of the drawing that prove too demanding.
In this way, you can maintain as many details as possible. Another way to make this rock sketch easier is to add or close something above. You could choose something you can easily draw if I had to. Adding another object or creature would help draw attention to this new addition instead of the Rock. You could draw a sweet frog that sits on the Rock. You would not only cover a few details on the Rock but also put on the frog and not on the Rock, so every imperfection becomes obscure.
After all, you can simplify your rocky sketch with a real Rock as a model. To start this process, give in your courtyard or a local park if you don’t have a courtyard. Try to find a Rock that seems similar to our example, and all the fantastic rocks you find work. Using this real Rock helps you draw some details and the fine shapes of the Rock. If you have found a nice selection of rocks, you can create a selection of rocks for this work of art. Even if you don’t find a Rock that resembles ours, it will still help you!
Your Rock drawing is complete!
We hope you can draw a Rock with this step-by-step drawing tutorial. What can you draw later because you can draw a Rock? Beautiful natural scenarios with complicated rock drawings are wonderful! What do you think? Remember that our drawing tutorials can use 100% free of charge as learning materials for drawing activities. The successful drawing of a skirt is a goal. So you should be proud of yourself when you have completed a masterpiece! Please take a photo of your works of art and share it on various social media platforms. And while you’re there, we hope you also take the time to appreciate our Facebook page!
Also Read: How to draw Snow White